The best after-shower routine for curly hair involves gently detangling, applying a leave-in conditioner, scrunching in a curl cream or gel, plopping for moisture retention, and air drying or diffusing. If you have curly hair, you know the struggle is real when it comes to frizz, dryness, and lack of definition. But don’t worry, I’ve got your back with the ultimate after-shower routine that will transform your curls into bouncy, defined ringlets.
The unique structure of curly hair strands makes them more vulnerable to dehydration and environmental stressors. Those gorgeous bends and coils create friction, causing the cuticle to lift and allow moisture to escape easily. Without a solid post-wash routine, your curls can quickly become a dry, frizzy mess. I know the pain – I spent years fighting my curls until I found the right regimen.
While you’re at it don’t forget to check out our curly hair wash day routine alongside.
The Post-shower routine varies by Curl Type
Not all curls are created equal, and each curl type has its own unique needs. Your curly hair routine should be tailored to your specific curl pattern and hair porosity. Tight, coily curls tend to be drier and more prone to shrinkage, while looser waves may require less intensive moisture. Similarly, low-porosity hair struggles to absorb moisture, while high-porosity hair can become dry and brittle if not properly hydrated. Understanding your curl type and hair needs is the first step to finding the perfect routine. Think of the below routine as a general blueprint catered to curly hair. It’s up to you to customize that routine as per your curl type through a bit of trial and error.
Step 1: Gently Detangle in the Shower
Raise your hand if you’ve succumbed to the dreadful “bird’s nest” after shower situation. To avoid disturbing your curl pattern and causing frizz, always detangle soaking-wet hair that has been coated with a slippery conditioner or detangler. I like to detangle as one of the final steps in the shower before rinsing out my conditioner.
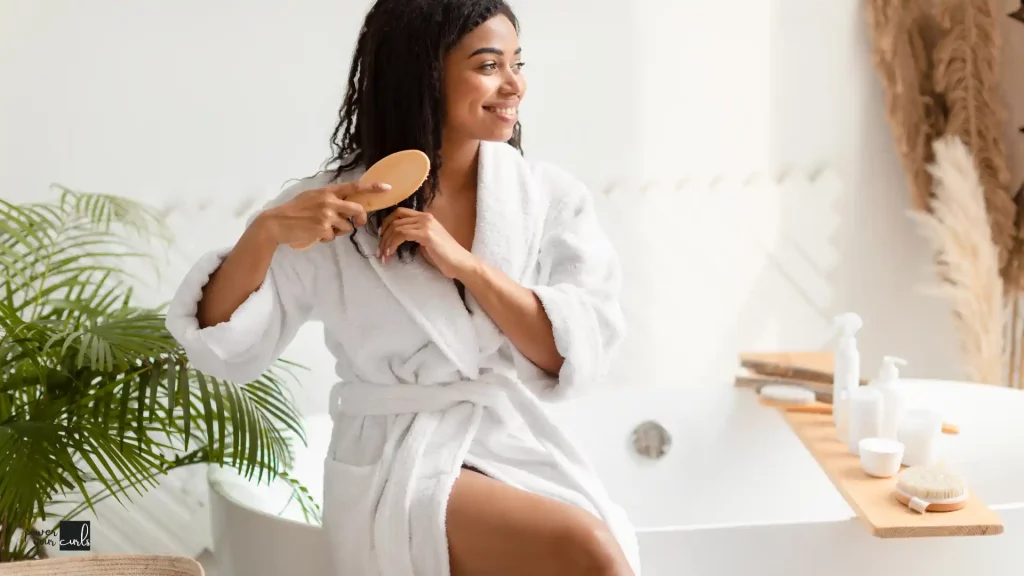
Using a wide-tooth comb or detangling brush is key
Ditch the paddle brush – it’s far too rough on curls. A wide-tooth comb or detangling brush designed for curly hair will seamlessly navigate through knots without snagging or causing breakage. Start detangling from the ends and work your way up slowly and gently. I detangle in sections to make sure I don’t miss any rogue curls.
Step 2: Apply a Leave-In Conditioner
After detangling, you’ll want to replenish that all-important moisture right away by applying a curl-friendly leave-in conditioner.
Your leave-in conditioner is the MVP of your curly hair routine, providing essential moisture and slip to enhance your curl pattern. Choose a leave-in formulated for your specific curl type and needs. For instance, those with tight curls may benefit from a heavier, creamy leave-in, while looser waves might prefer a lighter, milkier formula.
-
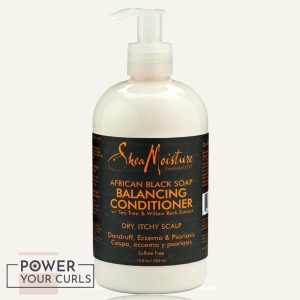
African Black Soap Balancing Conditioner
AED 51.20 -
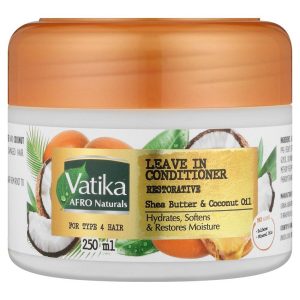
Afro Naturals: Leave In Conditioner
AED 23.63 -
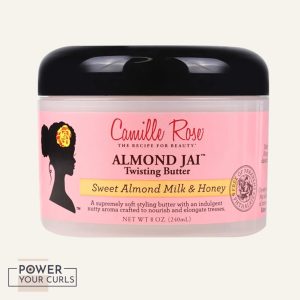
Almond Jai Twisting Butter
AED 68.00
Make sure to apply your leave-in from the mid-lengths to the ends while your curls are still completely soaked. Distributing the product on dripping wet hair allows for maximum absorption and even application. When applying your leave-in, experiment with different techniques like raking it through your hair, scrunching it in, or using the “praying hands” method. I personally love the scrunching method – it’s like giving your curls a gentle hug while infusing them with hydration.
Step 3: Scrunch in a Styling Product
Time to lock in that curl formation and enhance definition! Curl creams are my go-to styling product because they combine moisturizing ingredients with flexible hold. They’ll give you frizz control and defined clumps without any crispiness or crunch. I use a cream about the size of a ping pong ball emulsified between my hands before squishing it throughout my curls.
-
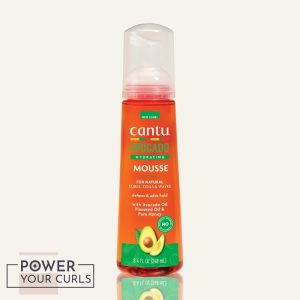
Avocado Hydrating Mousse
AED 35.30 -
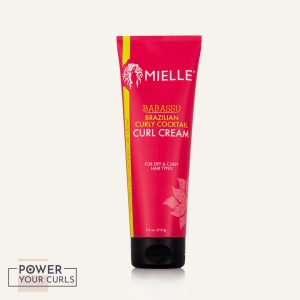
Babassu Brazilian Curly Cocktail Curl Cream
AED 57.89 -
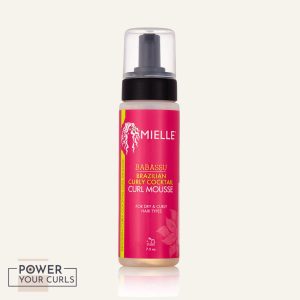
Babassu Brazilian Curly Cocktail Curl Mousse
AED 68.00
If you’re looking for an even more powerful hold and elongated curl formation, a gel could be your best bet. The downside is that gels tend to cause crispiness and require more strategic application to avoid a crunchy cast. My pro tip is to mix a little gel with a few drops of coconut oil to maintain softness while still achieving that ultra-defined look.
Step 4: Plop To retain the Moisture
After getting your styling product evenly distributed, you’ll want to employ the magic technique of plopping. Gently wrapping your wet curls into an old cotton t-shirt or microfiber towel allows them to form their natural curl pattern undisturbed while soaking up excess moisture. Plop for 15-30 minutes to allow the moisture from your leave-in and styler to really sink in. I love plopping because it gives me juicy, elongated, frizz-free clumps every time.
Microplopping works well for shorter curl types
Micro-plopping may work better than full-plopping if you have shorter curls or a tighter curl pattern. The technique is the same – wrapping your curls in a towel or shirt – but you only leave it on for 5-10 minutes before releasing and fluffing out your hair. Shorter curls can get weighed down and matted if left plopped too long.
Step 5: Air Dry or Diffuse
Once your curls have formed thanks to plopping, you’re ready for the final drying stage! Air drying is the gentlest way to preserve your natural curl pattern and avoid frizz from disturbing the strands. However, it does take some serious patience as curly hair can take several hours to dry completely this way. I try to air dry whenever I have the time to do so.
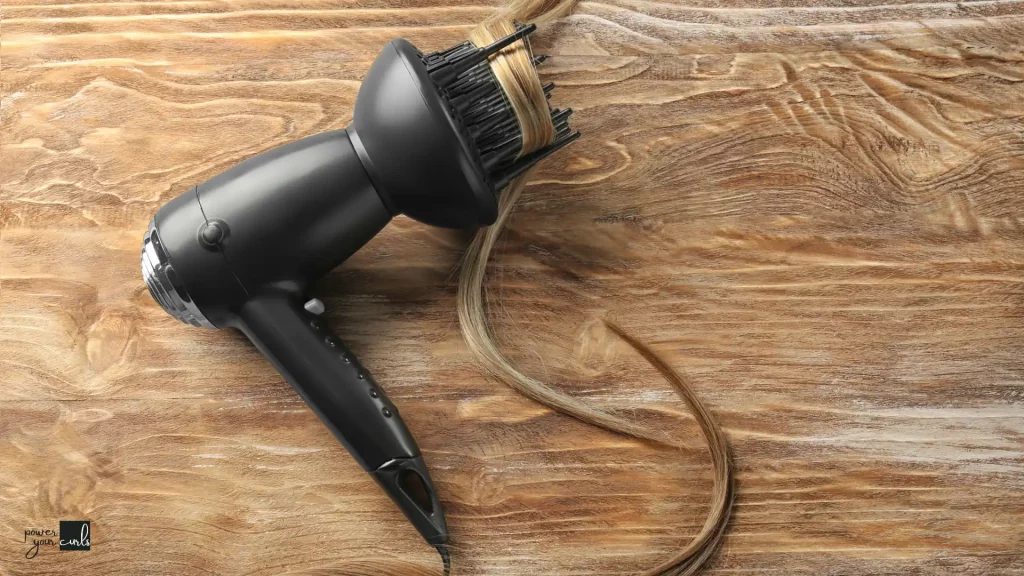
Diffusing, on the other hand, uses the concentrated airflow of a diffuser attachment on your blow dryer to gently dry and set your curls. For times when you’re in a rush or want to get on with your day, diffusing with a blow dryer on a low, cool setting can cut your drying time in half. This can lead to more volume and definition but requires careful technique to avoid frizz. I recommend diffusing upside down, cupping sections of hair into the diffuser bowl, and allowing them to dry completely before moving to the next section.
That’s it. Unlocking the full potential of your curls after heading out of the shower shouldn’t have to be a headache anymore if you follow the simple 5 step routine.
