

To diffuse curly hair without frizz, put your stylers on soaking-wet hair, then dry on low heat and low speed with a diffuser, hovering or cupping without touching your curls until they are at least 80% dry. Finish with a cool shot and scrunch out the crunch only once your hair is completely dry.
What a hair diffuser does for curls
A hair diffuser spreads your dryer’s airflow over a wide area, so curls dry in their clumps instead of being blasted apart by a narrow jet of air. That gentler, wider airflow is what lets you speed up drying without the frizz a bare nozzle causes.
Drying with low heat also matters for the hair fibre itself. In a lab study of hair washed and dried 30 times, hair surfaces became more damaged as dryer temperature increased, yet hair left to dry naturally showed damage to the cell membrane complex that the dryer-dried hair did not. The authors concluded that a dryer used about 15 cm away with continuous motion caused less damage than natural drying. For curls, that points to drying gently on low heat rather than either blasting on high or sitting with wet hair for hours.
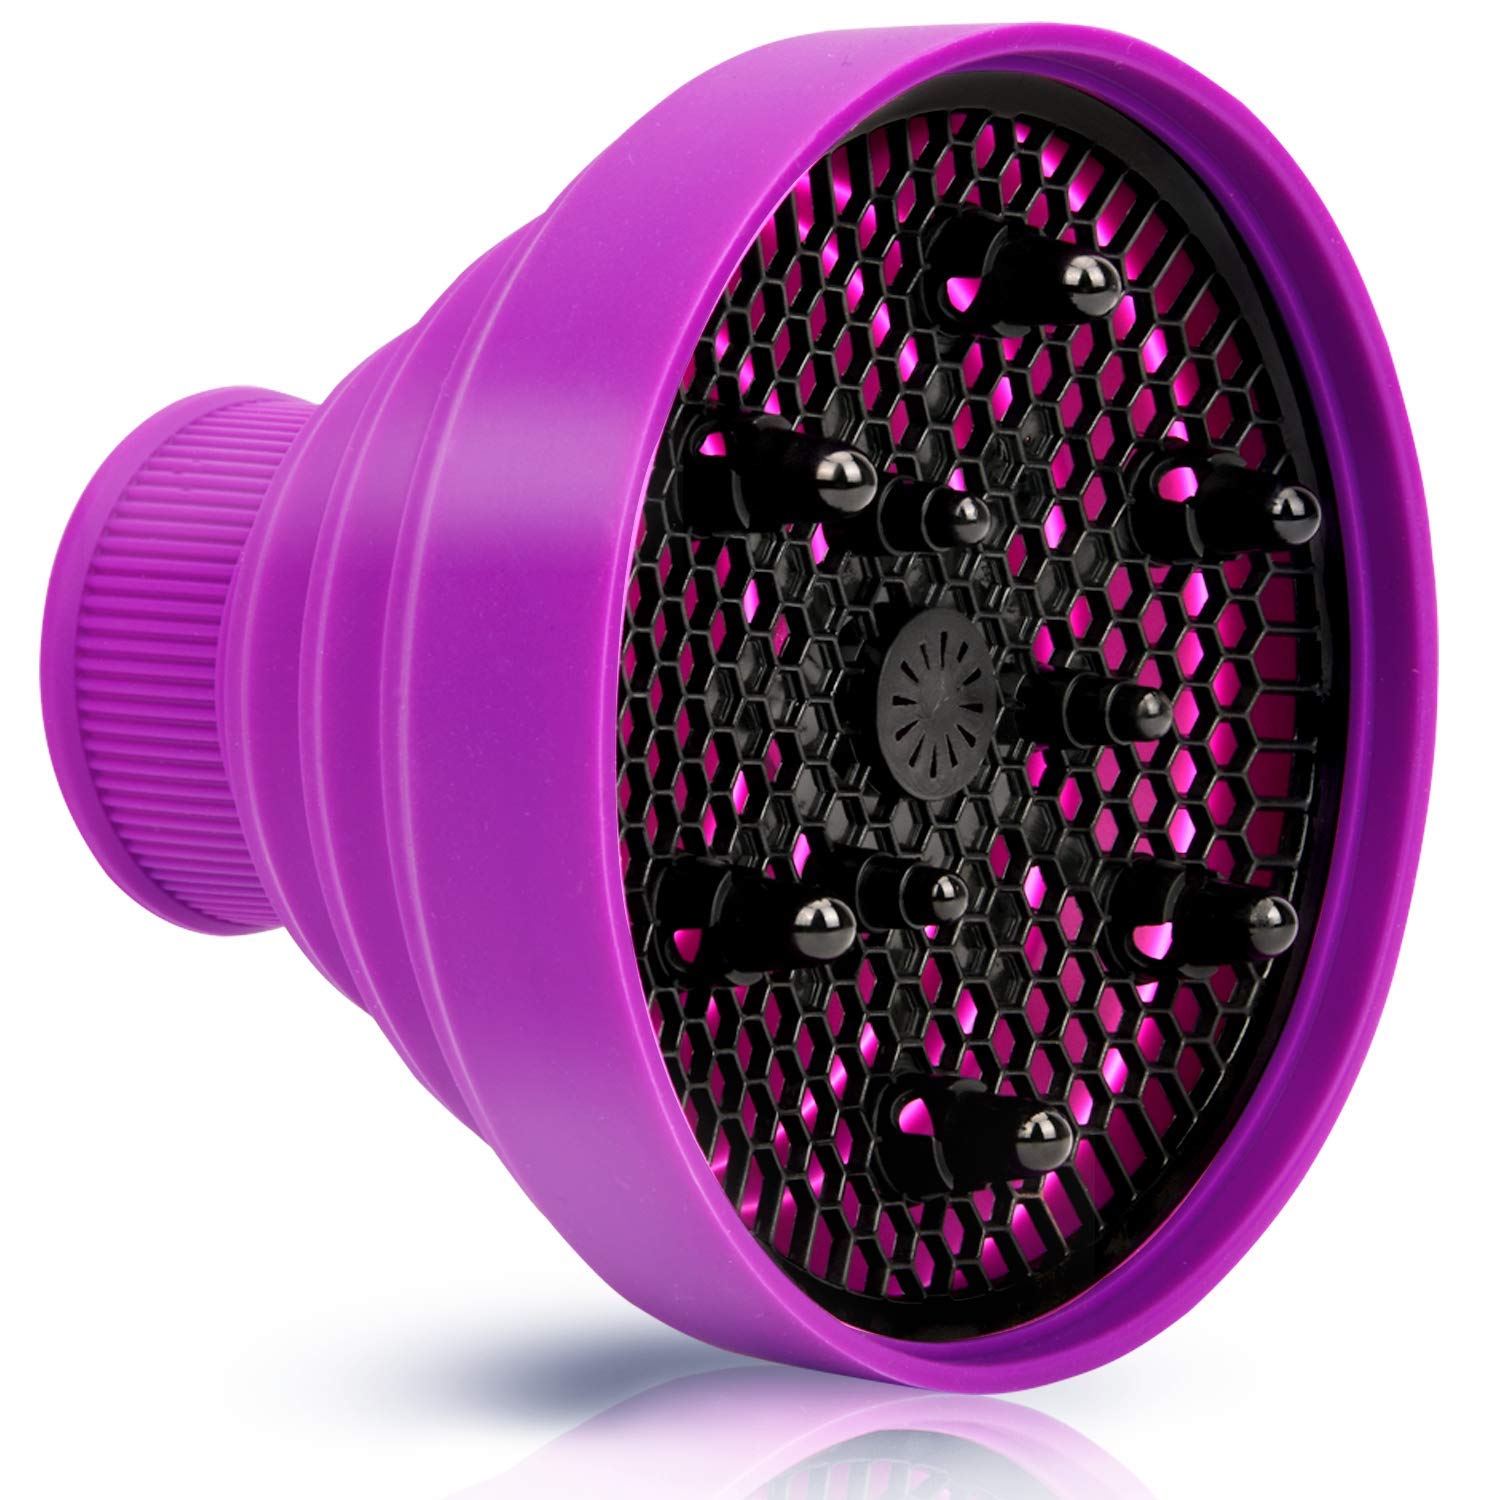
You can use a diffuser hair dryer that comes with its own diffuser, or add a clip-on attachment. Our universal silicone hair diffuser is collapsible and fits dryers with a nozzle diameter of 4–5 cm, and the full range of hair dryers and diffusers is here. If you are choosing a new dryer, see our guide to the best hair dryer with a diffuser for curly hair.
Should you diffuse wet or damp hair?
Apply your products to soaking-wet hair, then remove the drips and diffuse while hair is still wet to damp. Styling on wet hair lets gel or mousse form clumps before they are disturbed; blotting first means you are not spending ages blowing water out of your hair.
Blot rather than rub. The American Academy of Dermatology advises wrapping hair in a towel or T-shirt to gently absorb moisture, because roughly rubbing hair dry can cause damage. Some heat protectants also give their own timing: the label for Curl Keeper Thermal Defence says to let hair dry to at least 30% before using a hair dryer, so follow the instructions on whichever product you use.
How to use a diffuser, step by step
The method below works for wavy, curly and coily hair; adjust the amount of product and drying time to your density and length.
- Cleanse and condition. For curly hair, the AAD suggests applying conditioner to the entire length of your hair, not just the ends.
- Style on soaking-wet hair. Layer leave-in, then heat protectant, then a gel or mousse with enough hold to form a cast.
- Blot out the drips. Scrunch upwards with a microfibre towel or cotton T-shirt; never rub.
- Set the dryer to low heat and low speed. The AAD’s advice for blow dryers is simple: use the lowest heat setting.
- Hover first, then cup or pixie diffuse. Start by hovering around your head to set the cast, then move to cupping or pixie diffusing section by section (see the table below).
- Hands off until 80–100% dry. Touching wet curls breaks the gel cast and is the fastest route to frizz.
- Hit the cool shot. A final blast of cool air helps set the shape before you touch anything.
- Scrunch out the crunch. Once hair is fully dry, scrunch upwards (a drop of oil on your palms helps) to soften the cast and reveal soft, defined curls.
A heat protectant is worth using even on low heat. The AAD recommends a product to protect your hair from the heat, and a review of hair cosmetics notes that a silicone heat protector spreads heat along the hair surface, helping to stop water inside the hair boiling and forming bubbles. Browse our heat protectants for curly hair.
Pixie, hover or cupping: which diffusing method?
Use hovering to set the cast, cupping for volume and pixie diffusing for maximum definition on shorter lengths or tighter curls. Most people combine two of them.
| Method | How to do it | Best for |
|---|---|---|
| Hover | Hold the diffuser a few centimetres from your hair and move it slowly around your head without touching your curls. | The first few minutes, setting the cast, fine waves that drop easily |
| Cupping | Gather a section of curls into the diffuser bowl, lift it gently towards the scalp, hold, then move to the next section. | Volume at the root, medium to long curls |
| Pixie diffusing | Rest a section of curls in the diffuser, bring it up to the scalp, switch the dryer on for a short burst, switch off, then lower and move on. | Definition and clump preservation, shorter lengths, tighter curls and coils |
Diffusing mistakes that cause frizz
Most diffusing frizz comes from too much airflow, too much handling or stopping too early. Frizz that sits on the top layer is often halo frizz; these expert ways to prevent halo frizz pair well with the fixes below.
| Mistake | Why it causes frizz | Fix |
|---|---|---|
| High speed | Strong airflow pushes clumps apart before they set. | Use the lowest speed; pixie diffuse if your dryer is still too strong. |
| High heat | Hair surfaces get more damaged as drying temperature rises. | Low or medium heat, with the dryer kept moving. |
| Touching curls mid-dry | Breaks the gel cast and separates clumps. | Hands off until 80–100% dry. |
| Rubbing with a towel | Roughs up the cuticle and breaks up curl clumps. | Blot with a microfibre towel or T-shirt. |
| Not enough hold | Without a cast, curls frizz as they dry. | Add more gel or mousse on soaking-wet hair. |
| Stopping at 60–70% dry | Damp curls left to finish drying in humid air swell and frizz. | Diffuse to fully dry, or close to it, on humid days. |
| Skipping heat protectant | Leaves hair with no protective layer against heat. | Apply a heat protectant on wet hair every time you diffuse. |
Humidity is the big one in the UAE, especially in summer; our guide to managing curly hair in humidity covers the product side.
FAQ
How do you use a diffuser on curly hair for the first time?
Start on low heat and low speed, hover for the first few minutes, then cup sections gently and keep your hands off until your hair is mostly dry. Expect your first attempt to take longer than air drying feels like it should; speed comes with practice.
Should you diffuse wet or damp hair?
Apply products to wet hair, blot out the drips, then diffuse while it is still wet to damp. If your heat protectant label gives a minimum dryness before using a dryer, follow that.
Does diffusing damage curly hair?
Any heat can cause damage, which is why low heat, constant movement and a heat protectant matter. If your curls already feel straw-like or have straight sections, read how to fix heat-damaged curly hair before you pick up the dryer again.
Will a diffuser fit any hair dryer?
Not always. Dedicated diffusers are made for specific dryers, while a universal silicone diffuser like ours fits nozzles with a 4–5 cm diameter, so measure your dryer’s nozzle first.
