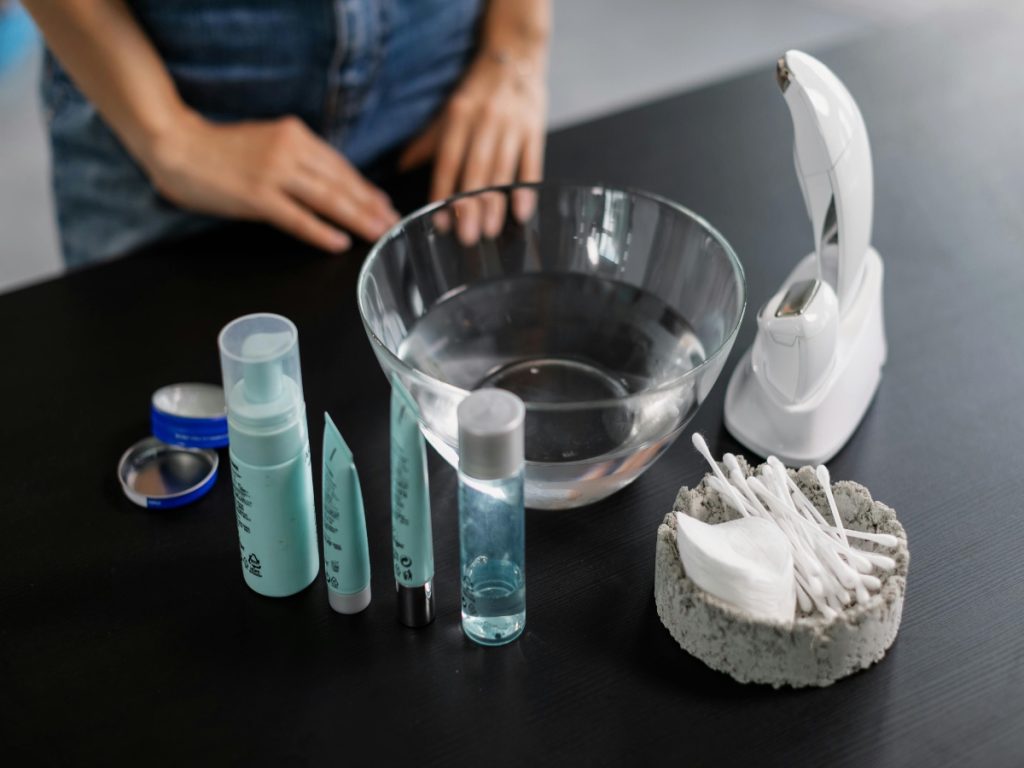
Enhancing curls may require a handful of tools such as blow dryers, diffusers, and other hair care products. However, heat-styling tools can be harmful to the hair if the heat temperature is too high or if the tool is used frequently.
Until the curly hair bowl method entered the picture, leaving more than 600 million TikTok users curious about how a simple bowl and some hair products can create frizz-free curls, waves or coils.
This hack has been tested by several TikTok influencers and has been gaining traction in social media since 2020.
The curly bowl method is accessible and affordable to those looking to get salon-like curls. It doesn’t require expensive tools and you can easily do it at home.
What is the curly bowl method?
This viral hair technique is a gentle way of hydrating and moisturizing curls without heat styling. It starts with using a large bowl and filling it up with water. Apply the styling products while the hair is wet and then start dunking the hair into the bowl.

Afterwards, squeeze the hair into the water to let the products penetrate the strands. Repeat this four times to ensure that the hair absorbs all the nutrients from the products. After this, squeeze the excess water into the bowl and lift your head.
PowerYourCurls hairstylist Gwenda Harmon sees the technique as an easy and natural routine to hydrate and detangle curls.
“Dipping the hair into the bowl filled with water allows contact hydration with products such as curl cream, shampoo, conditioner, and other hair care items. It is ideal for those with porous and frizzy hair because of repeated soaking,” explained Harmon.
What are the benefits of the bowl method?
Aside from its simplicity and affordability, the bowl method is also an easy technique to coat the products into the hair evenly.
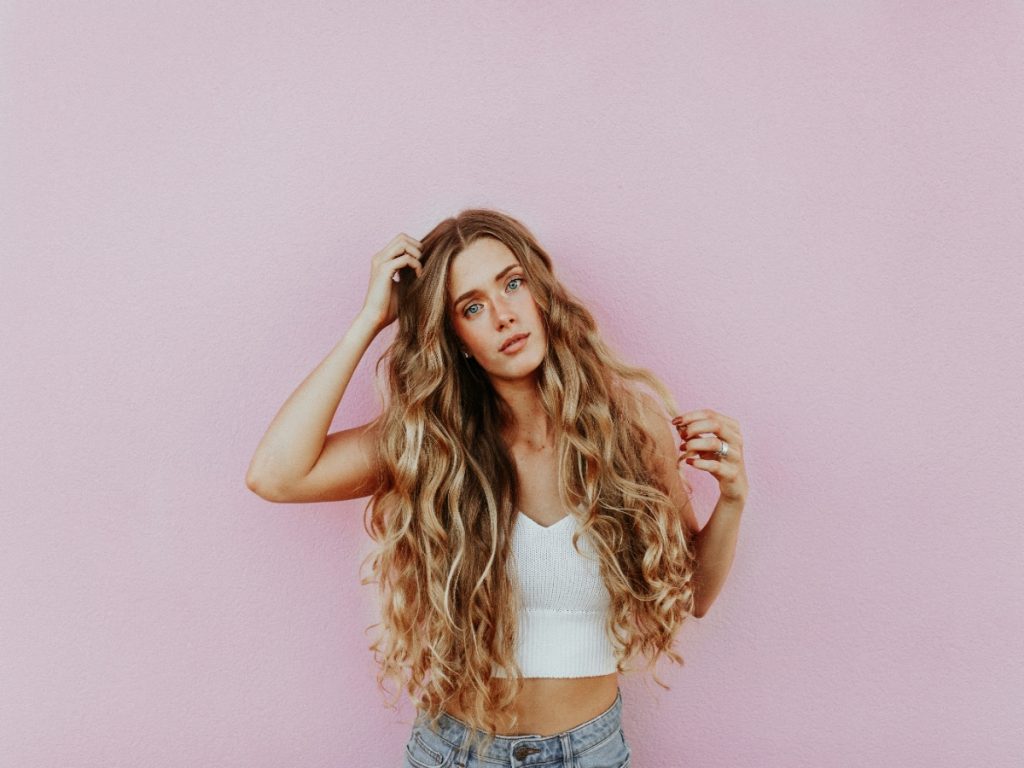
“With even distribution, curly hair will experience frizz and a uniform curl pattern. Using the correct products will also promote moisture and shine to the curls,” said Harmon.
“This also helps to evenly distribute leave-in conditioner since it is an important step in every hair care routine. By dunking it into the bowl, the water is sufficient compared to showering your hair. This way, the product is soaked into the hair, integrating more nutrients,” added Harmon.
It is also beneficial for those who have curly and coily hair since the best time for applying styling products is when they are wet.
“It’s a helpful routine to do when you need to go to an event to hydrate or define your curls without going to the shower or washing your hair using the sink,” said Harmon.
It also works best for those with low-porosity hair, which means it has difficulty absorbing moisture and styling products.
Similar to low porous hair, those with thick and dense curls can enjoy livelier and hydrated curls after doing the bowl method because of the maximum absorption from the products.
“When you dilute the product into the bowl, it can enhance the volume and definition of the curls. This is because the product is evenly distributed in the bowl. Unlike in the shower, the bowl method will keep the hair saturated as the hair clumps for better absorption of nutrients,” Harmon pointed out.
Harmon also recommends following the bowl method for those with color-treated hair because the products used are safe.
“The bowl method is a natural way to revive moisture from dyed hair after it was exposed to chemicals. This will help detangle hair and prevent dryness. Just make sure to use paraben-free and sulfate-free shampoos for the bowl method to prevent damaging the hair,” said Harmon.
“It can also work with hair extensions such as locs, braids, twists, and so on,” she added.
Lastly, this bowl method can also be integrated for seasonal hair styling. During the summer, curls suffer from frizz, dryness, and loss of moisture. The colder months are unkind for curls too, leaving them dry, tangled, and dull. These will be addressed through the bowl method.
“The bowl method can combat the environmental damage from intense cold and dry temperatures. You just need to change the number of dips for each season. For the hot season, do two dips and four in winter. These will help increase shine and reduce oil build-up,” said Harmon.
Is the curly bowl method worth it?
Although it is accessible, the bowl method may not work with everyone, especially if they are impatient. It could take much of your time to properly execute each step.
It can also damage the hair if the products used have sulfates or if the hair isn’t washed thoroughly.
“Doing this incorrectly can leave hair looking dry and frizzy. There is also the risk of product build-up without rinsing thoroughly. Make sure to steer clear of hair care products with preservatives when doing this method,” said Harmon.
There are also consequences to the hair cuticle when you twist the hair too much, said Harmon.
“If you wring it too much, it can damage the cuticle. Remember to squeeze the hair in the ideal frequency to keep cuticle and hair strands healthy,” she pointed out.
How do you do the TikTok hair bowl method
correctly?
This hair bowl method can easily be executed at home. You can easily use a bowl as a helpful tool for transforming curls to become fuller, shinier, and bouncier.
However, given the consequences mentioned above, the curly bowl method should be done precisely to prevent damaging the hair shaft, cuticle, and strands.
- Wash and condition the hair with natural hair care ingredients. Make sure the hair is completely damp before applying the ingredients.
At the same time, fill up the bowl with water. Harmon recommends using filtered water for those with high porosity and thick hair to ensure deep absorption. Meanwhile, frizzy hair should use cold water to seal the cuticle and reduce frizz.
Wash hair with hydrating shampoo such as Born Curly Aloe Shampoo & Wash, Creamy Curl Cleanser Sulfate Free Shampoo, and Rose Water Sulfate Free Hydrating Shampoo.
“These products will help propel hydration and moisture of inherently dry curls. These products are also free from harmful chemicals like paraben, sulfate, and artificial coloring,” said Harmon.
For conditioners, Harmon suggests using Rose Water Frizz Free Hydrating Conditioner Or Aloe And Mint Collections: Cool It! Stimulating Moisturizing Conditioner.
“These products will help reduce frizz, promote scalp health, improve moisture, and reduce breakage,” explained Harmon.
- Detangling
After washing the hair with curly-approved shampoo and conditioner, it’s time to detangle to prevent split ends and breakage during the process.
Harmon advises using leave-in conditioners or detangling sprays for this step. Along with it, use a brush, ideally a wide-tooth brush, to help with addressing tangled hair.
Try using products like Afro Naturals Leave-In Conditioner, Coil Calm Detangler, (for coils), or Born Curly Argan Leave In Conditioner & Detangler.
“Use products that match your hair type to ensure that the results will be ideal,” said Harmon.
- Apply Curl cream
Put in your curl cream as desired to help reshape curls. This step is essential as it will help achieve the fuller curls that you want. Follow the instructions on the label to evenly coat the hair.
Harmon suggests trying out Moisture Miracle: Shea Butter & Flaxseed Oil Moisture & Define Curling Cream, Twist ‘n Shout Blueberry Curl Cream, or Coil, Kink & Curl Styling Cream for kinky and coily hair.
- Brush hair
Brush the hair forward and upward using curl-friendly tools before placing the hair into the bowl.
“This will help easily dunk the hair in the bowl as the strands will be close together,” pointed out Harmon.
- Dip hair in a bowl and start scrunching
Now for the final part, gently dump the ends of the strands into the water first and then continue to put in the rest until water touches the scalp.
Learn a bit away from the bowl and press and twist the hair gently to remove excess water. Start squeezing from the ends and then the roots.
“Try to pulse the hair using the palm. First, squeeze the tip of the strands and squeeze it from the bottom to the top until the excess water returns to the bowl. This will form a type of curly wave that resembles a seaweed,” said Harmon.
- Repeat this step about two or three times to get the desired results.
Dry the hair with a microfiber towel but make sure that you won’t roll the towel into the hair. Spread the towel evenly on a surface, and put your hair into the towel. Then, press the towel upwards and wrap it on your head. This technique allows waves and curls to maintain their full shape.
You can go the extra mile by sleeping on a satin or silk pillowcase to prevent damage to the curls like split ends, breakage, and loss of moisture.
